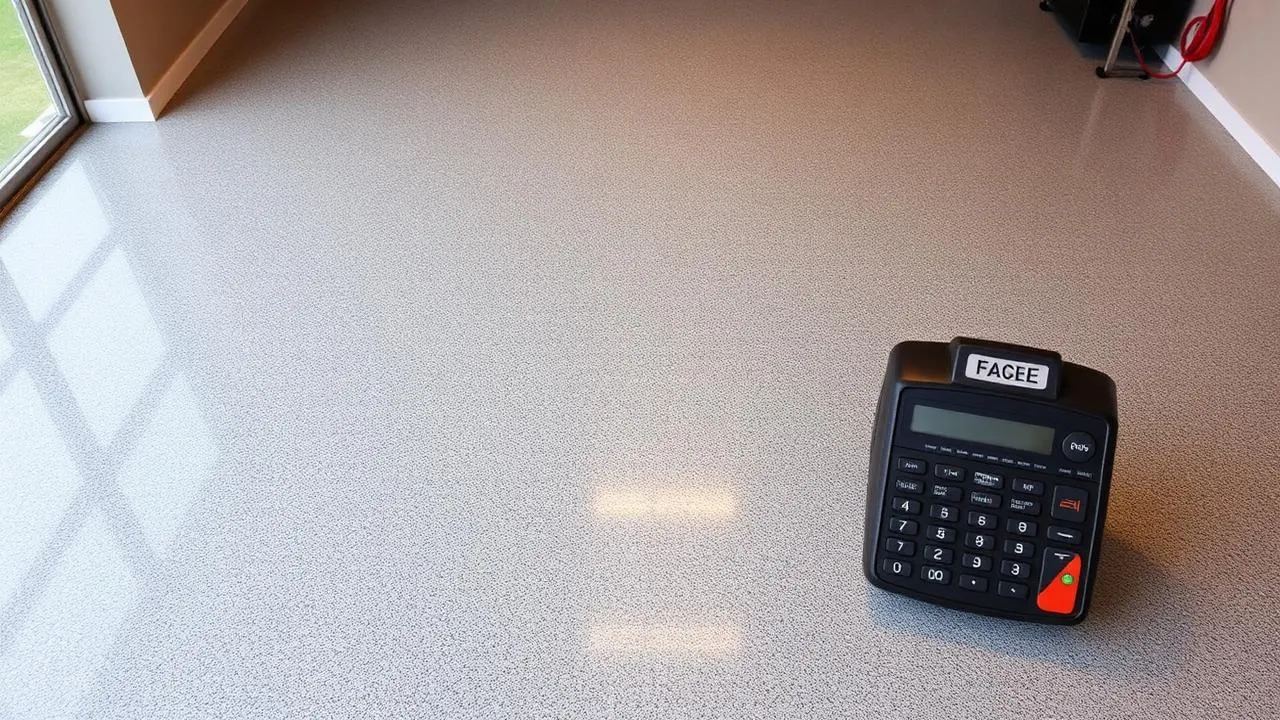
How to Fix a Peeling Epoxy Garage Floor (Without Making It Worse)
Ready to get started?
Call (904) 300-1558 or request a free, no-obligation quote — we typically respond the same day.
How to Fix a Peeling Epoxy Garage Floor (Without Making It Worse)
Patching peeling epoxy almost always fails within months. Here's why floors peel, when a repair is realistic, and when you need to strip and start over.
A peeling epoxy garage floor is one of the most common calls we get in Jacksonville. The temptation is to patch the bad spots and recoat the floor — and that's almost always the wrong move. Here's how to actually fix the problem.
Why epoxy floors peel (the 4 real causes)
Before you spend a dollar on the repair, you need to know which of these caused the failure. The fix is different for each.
1. Inadequate surface prep (the #1 cause)
If the original installer acid-etched the slab instead of mechanically diamond-grinding it, the coating bonded to surface laitance — a weak, dusty top layer of cement. The coating peels off in sheets like a wet bandaid. This is the cause of probably 70% of failed garage epoxy floors we see.
How to spot it: peeling sheets come up clean with no concrete attached.
2. Moisture vapor transmission
Florida slabs sit on damp ground year-round. If the installer didn't moisture-test the slab and didn't use a moisture mitigation primer, hydrostatic pressure pushes vapor up through the slab and blows the coating off from underneath.
How to spot it: bubbles, blisters, or peeling concentrated in low spots of the slab. The underside of the peeled coating is often discolored or fuzzy.
3. Hot tire pickup
When hot tires sit on a coating that isn't engineered for it (i.e., cheap epoxy without a polyaspartic top coat), the tire chemistry slowly extracts plasticizers from the coating. After enough cycles the coating becomes brittle and lifts where the tires sit.
How to spot it: peeling in two parallel strips matching your tire footprints.
4. Contamination during install
Oil, silicone overspray, dust, or condensation between the base and top coat creates a bond break. The top coat lifts cleanly off the base.
How to spot it: top coat peels but base coat remains stuck to the floor.
When patching is realistic
Patching can work in exactly one scenario: a small, isolated failure (<10% of the floor) caused by contamination during install, where the rest of the floor is solidly bonded. Test by trying to peel adjacent areas — if they lift, the failure is going to spread no matter what you do.
For patching:
- Cut back the failed area to solidly bonded coating with a utility knife
- Diamond-grind the exposed concrete to a CSP-2 profile (not sandpaper, not a wire brush)
- Re-coat the patched area with the same system, feathering into the surrounding coating
- Top-coat the entire floor with one fresh polyaspartic clear to hide the patch line
When you have to strip and start over
If the failure is from inadequate prep, moisture, or hot tire pickup — or covers more than ~10% of the floor — there's no honest fix except removing the existing coating, addressing the root cause, and re-installing properly.
The strip-and-redo process:
- Shot-blast or diamond-grind the entire floor down to bare concrete. Chemical strippers don't work on 100%-solids epoxy.
- Diagnose and repair the root cause: moisture mitigation primer for vapor issues, crack repair for substrate damage.
- Re-install with a real system: 100%-solids epoxy base, polyaspartic top coat, full diamond grinding prep.
This costs roughly 30–50% more than installing on a fresh slab because of the strip step. It's painful, but it's the only durable answer.
What absolutely doesn't work
- Painting over the failure. Garage floor paint won't bond to existing epoxy and won't hold up to traffic.
- A "rejuvenating" topical sealer. These exist; they don't bond to failed epoxy. You'll have another failure in 6 months.
- "Just rolling on more epoxy." New epoxy won't bond to old epoxy without mechanical abrasion. You'll watch the new coat peel off with the old one.
- DIY epoxy kits over a failed floor. Same chemistry that failed the first time, same outcome.
Avoiding the next failure
The single best investment you can make in a garage floor is proper surface prep on the install. If you're getting quotes for a new coating, make sure every contractor specifies:
- Diamond grinding to CSP-2 (not acid etching)
- Moisture testing before any coating
- 100%-solids epoxy base (not solvent-based or water-borne)
- UV-stable polyaspartic top coat
Anything else is an expensive lesson waiting to happen. For a deeper dive into the system options, read our Polyaspartic vs Epoxy Garage Floor buyer's guide.
We strip and reinstall failed floors
About a quarter of our garage installs in Jacksonville and St. Augustine are strip-and-replace jobs on previously failed floors. We diagnose the root cause first (so it doesn't happen again), grind the failed coating completely off, and install a real hybrid system with a written warranty.
Get a free strip-and-replace quote or call (904) 300-1558.
Frequently Asked Questions
Related Posts
Ready to Transform Your Floor?
Get a free, no-obligation quote for your project in Jacksonville, St. Augustine, or Palm Coast.
Request a Free Quote