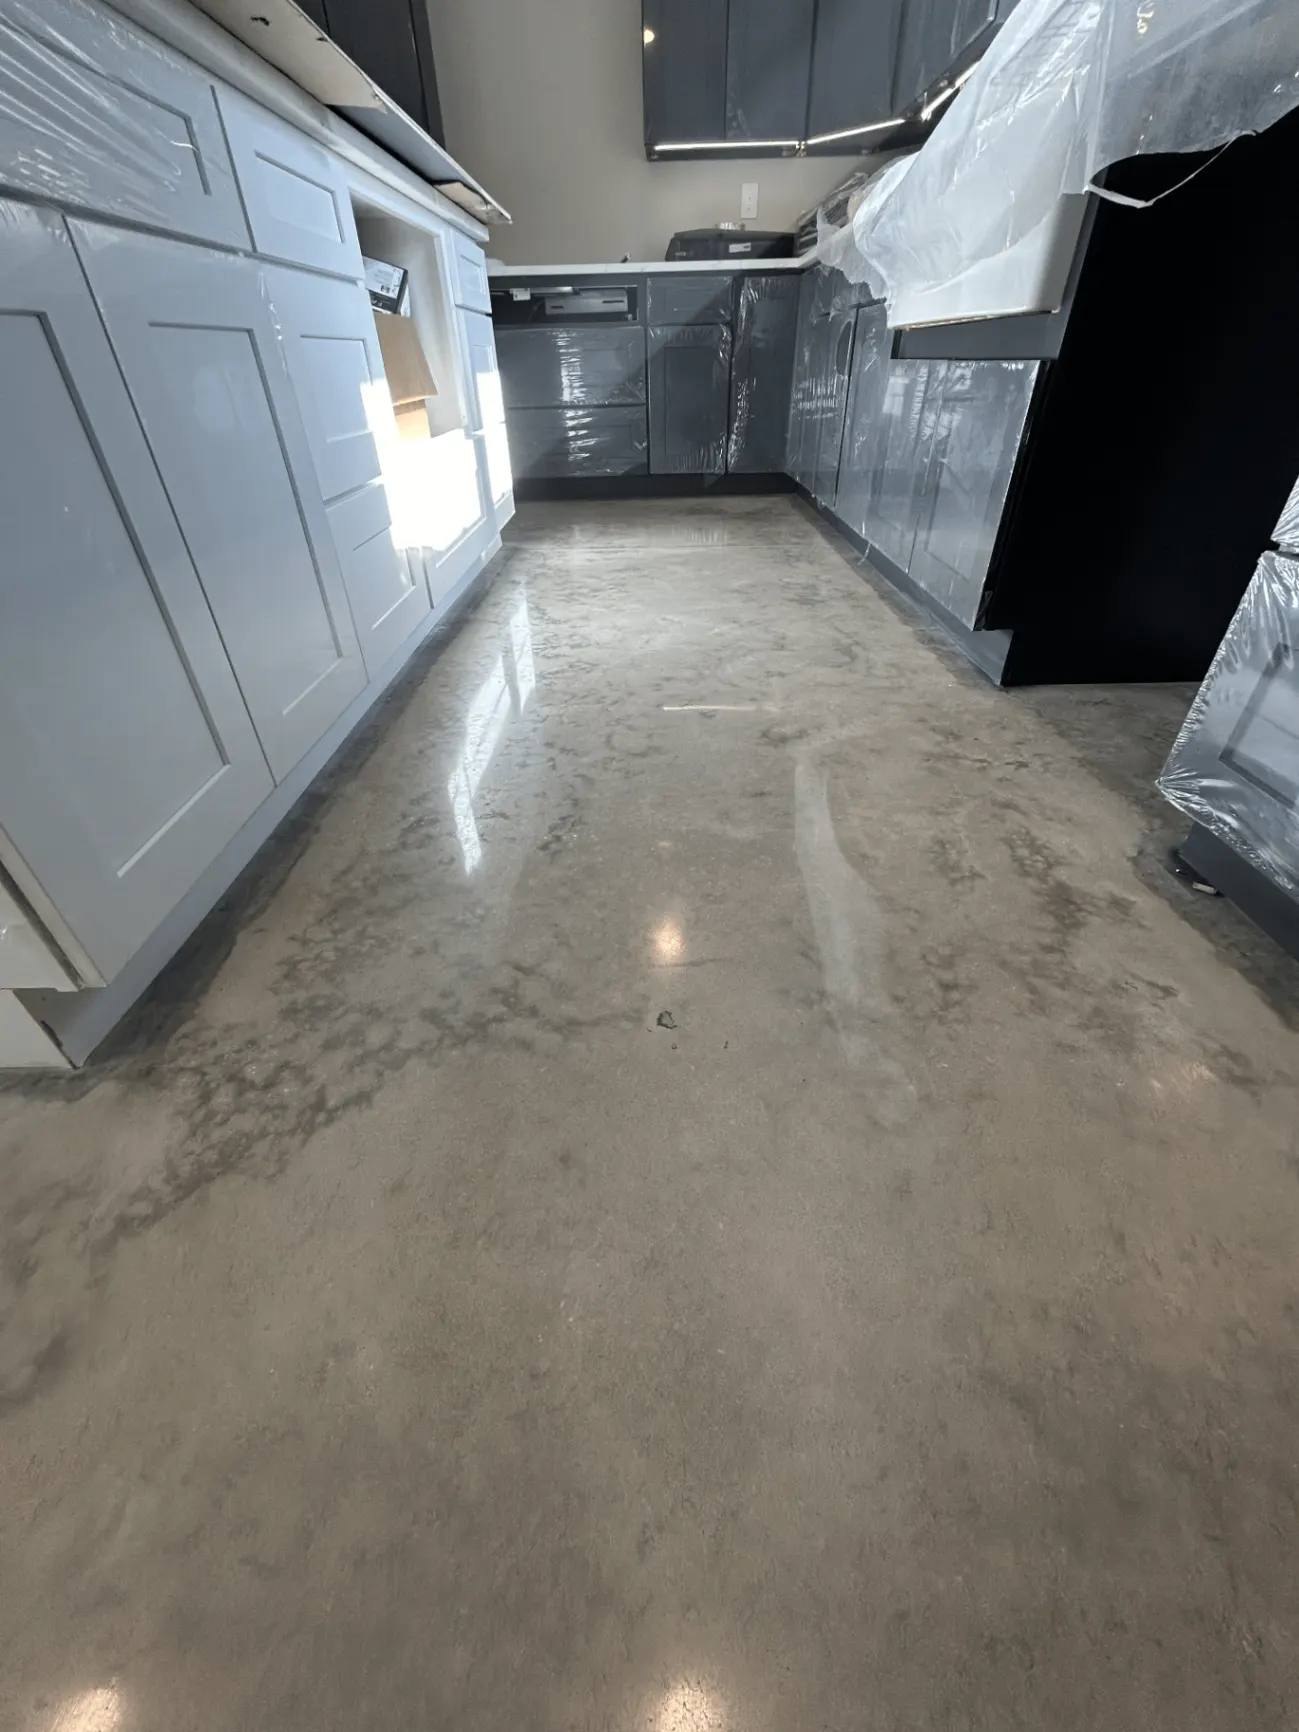
Floor Preparation: The Foundation of a Coating That Lasts
Why proper surface preparation is the single most important factor in coating longevity — and how we do it right so we can stand behind every floor with a warranty.
Why Preparation Matters More Than the Coating
Here's something most floor coating companies won't tell you: the coating itself is only as good as the surface it bonds to. You could apply the most expensive, highest-performance epoxy on the market — and it will peel, bubble, or delaminate within months if the concrete beneath it wasn't properly prepared.
At JAX Epoxy Floors, we invest heavily in both industrial-grade preparation equipment and premium coating materials. That combination — not one or the other — is what allows us to warranty our floors with confidence. When a competitor offers a "one-day install," ask yourself: did they spend enough time on prep?
This guide walks you through every step of proper floor preparation, why each step matters, and what separates a coating that lasts 2 years from one that lasts 20.
Step 1: Concrete Inspection & Testing
Before any equipment touches your floor, we perform a thorough assessment of the concrete's current condition. This isn't a formality — it determines everything about how we approach the project.
Moisture Testing
We test for moisture vapor transmission using calcium chloride and relative humidity tests. Florida's high water table makes this critical — undetected moisture is the #1 cause of coating failure.
Existing Coatings
Any previous paint, sealer, or coating must be identified. Some coatings are incompatible with epoxy systems and must be completely removed.
Crack & Damage Assessment
We map every crack, spall, and joint. Each will be individually addressed — filled, routed, or repaired — before coating begins.
Contamination Check
Oil, grease, tire marks, and chemical spills create adhesion barriers. We identify contaminated zones for targeted degreasing and treatment.
Skipping this step is the most common shortcut in the industry. A company that shows up and starts grinding without testing moisture or checking for contaminants is gambling with your investment.
Step 2: Diamond Grinding & Surface Profiling
This is where the real work happens. Diamond grinding is the gold standard for concrete surface preparation. We use industrial planetary grinders equipped with diamond-segmented tooling to mechanically profile the concrete surface.
The goal is to achieve a CSP-2 to CSP-3 profile (Concrete Surface Profile) — a texture roughly equivalent to medium-grit sandpaper. This profile gives the coating thousands of microscopic anchor points to grip into, creating a mechanical bond that won't let go.
Why Diamond Grinding Beats Acid Etching
Many budget installers use acid etching because it's cheaper and faster. But acid etching is unreliable — it reacts inconsistently across the slab, can leave chemical residue that interferes with adhesion, and simply cannot remove existing coatings or stubborn contaminants.
Step 3: Crack Repair & Joint Filling
Once the surface is profiled, every imperfection becomes visible — and addressable. We treat cracks and joints individually based on their type and severity:
- Hairline cracks are filled with a flexible polyurea joint filler that moves with the concrete as it expands and contracts with temperature changes.
- Structural cracks are routed (widened with a saw cut) and filled with a semi-rigid epoxy filler that restores load-bearing capacity.
- Control joints can be filled to create a seamless surface, or left as decorative lines depending on the desired look.
- Spalls and divots are patched with an epoxy mortar that bonds flush with the surrounding surface.
This step is time-consuming, but it's what separates a professional installation from a DIY project. Coatings applied over unrepaired cracks will telegraph those cracks to the surface — and eventually fail at those exact points.
Step 4: Deep Cleaning & Dust Removal
After grinding and repairs, the surface is covered in fine concrete dust and debris. Even a thin film of dust will act as a bond breaker between the concrete and the coating — essentially creating a weak layer that the coating sticks to instead of the concrete itself.
We use industrial vacuum systems with HEPA filtration to remove all dust, followed by a final solvent wipe or degreaser pass on any areas that had contamination. The floor must be completely clean and dry before the first coat goes down.
In Florida's humidity, timing matters. We monitor ambient temperature and humidity levels and will not apply coatings if dew point conditions could cause moisture to condense on the prepared surface. This attention to environmental conditions is another detail that separates a lasting floor from a failing one.
Step 5: Vapor Barrier & Primer Application
With the surface profiled, repaired, and cleaned, we apply a moisture-mitigating primer — what we call the vapor barrier. This is arguably the most important layer in the entire system.
Florida sits on a high water table. Moisture constantly migrates upward through concrete slabs as vapor. Without a vapor barrier, that moisture pushes against the underside of the coating, eventually causing blisters, bubbles, and full delamination. We've seen countless floors fail because the original installer skipped this step.
Our vapor barrier primer penetrates deep into the concrete pores, seals them, and creates an impermeable bond layer. It also serves as the adhesion bridge between the concrete and the body coats that follow. This is where our investment in industrial-grade materials pays off — we use premium epoxy primers with proven moisture tolerance, not watered-down consumer products.
Why Premium Materials Complete the Equation
Proper preparation creates the foundation. But the materials you put on that foundation matter just as much. Here's our philosophy: we use the same industrial-grade coating systems specified for aircraft hangars, pharmaceutical facilities, and food processing plants — and we apply them in residential and commercial settings.
That means higher solids content, superior chemical resistance, better UV stability, and longer service life. These materials cost more — sometimes significantly more — than what big-box franchise operations use. But the result is a floor that performs for decades, not years.
Our Warranty Promise
Because we control both sides of the equation — meticulous preparation and premium materials — we can warranty our floors with complete confidence. We don't cut corners on prep to save time, and we don't use cheap coatings to protect margins. Every floor we install is built to last, and we put that in writing.
Red Flags: Shortcuts That Lead to Failure
When comparing quotes from floor coating companies, watch for these warning signs that preparation is being shortchanged:
"We can do it in one day"
Proper grinding, repairs, primer cure time, and coating application simply cannot be rushed into a single day for most projects. If they're promising one day, they're skipping steps.
"We use acid etching"
Acid etching is inconsistent, environmentally harmful, and cannot achieve the profile that diamond grinding delivers. It's a budget shortcut, not a professional method.
"No need for a vapor barrier"
In Florida, every slab needs moisture mitigation. Any installer who says otherwise either doesn't understand our climate or is cutting costs at your expense.
"We'll just go over the existing coating"
Applying new coatings over old ones without proper removal and profiling is a recipe for delamination. The new coating bonds to the old coating — not to the concrete.
No moisture testing before starting
If they don't test for moisture, they're guessing. And guessing with floor coatings means callbacks, warranty claims, and unhappy customers.
Floor Prep Frequently Asked Questions
Ready for a Floor Done Right?
We take the time to prepare your floor properly and use industrial-grade materials — so you get a coating that lasts and a warranty you can trust. Get your free quote today.